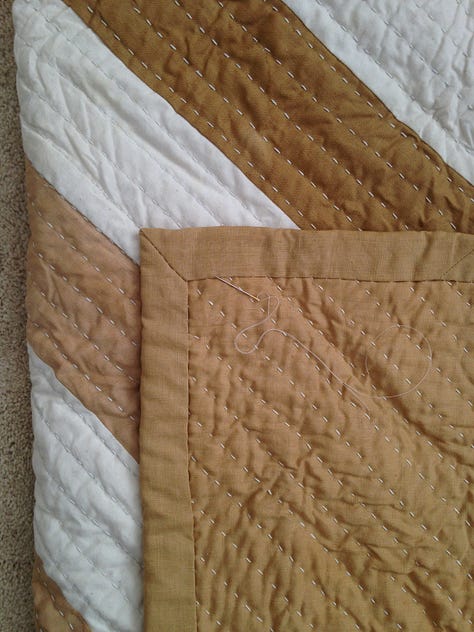
To bind a quilt means fastening or holding the edges together. To diversify the language surrounding the binding process, I often use alternative terms such as trimming, framing, or edging the quilt.
The purpose of a binding is many, it secures the raw edges of the fabric, it serves to frame the quilt, like framing artwork, and it also adds life to the quilt by shielding the edges from the wear and tear. The edges of a quilt are typically the first to wear down and because of this a binding can add years to a quilt. Also, replacing a worn out binding can bring new life to an old quilt.
The final touch in the art of quiltmaking lies in binding. Reaching the final stages to any meaningful creative journey can bring up a mix of emotions: pride, excitement, relief, satisfaction and yes, sometimes frustration and disappointment.
My advice: Be kind to yourself. Keep it fun, play and experiment— there’s no right or wrong way to bind a quilt. Pick a method that attracts you and try it out.
I like to break-down the binding process into 2 parts: making the binding and attaching the binding.
In this post, I'll share how I make (my preferred) binding: double-fold cross-grain technique with “mitered” corners. But keep an eye out for future posts where I'll dive into some of the other techniques mentioned.
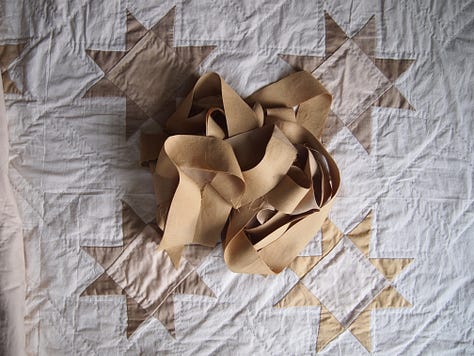
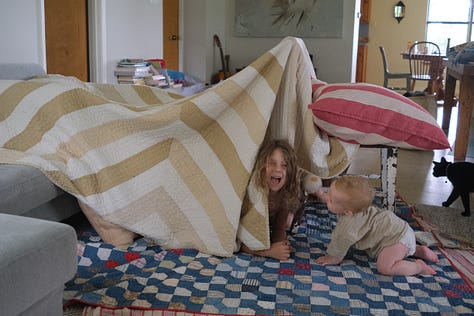
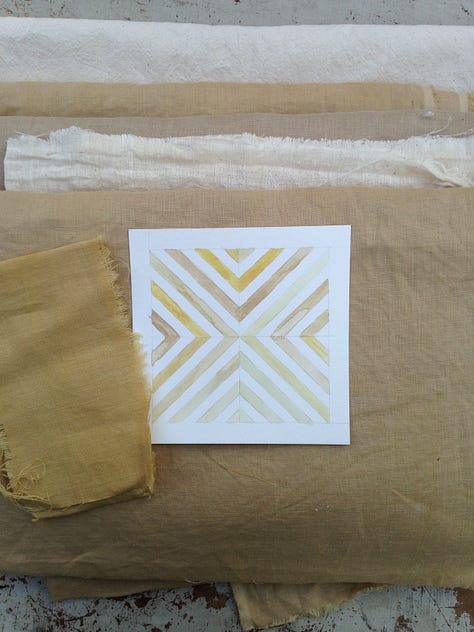
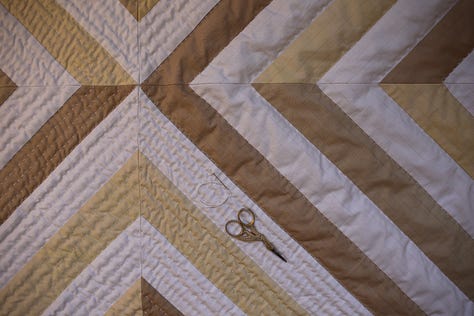
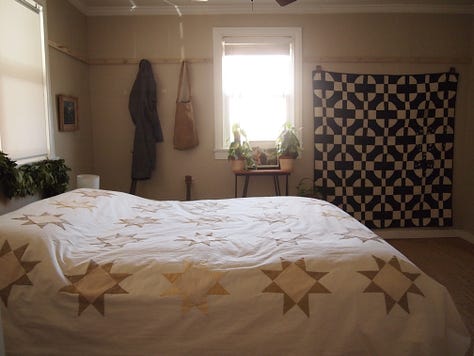
Like all crafts, there are many different styles and techniques, I encourage experimenting with various binding techniques, such as: continuous strip binding, straight-of-grain binding, self-binding, prairie point binding, and ruffled binding.
Cutting binding straight on the grain is useful if your working with limited supply of a special fabric, because it creates less waste, it’s also less stretchy making it suitable for straight edges. I’ve made plenty of quilts with binding cut on the grain, it’s all good, the reason I’ve switched to bias binding is I experience less issues when attaching the binding, it wraps around the edge more smoothly.
Keep reading with a 7-day free trial
Subscribe to Life Quilts to keep reading this post and get 7 days of free access to the full post archives.


